Professional workflow
Find the edge of coverage and validate a Wi-Fi installation
Walk out from each access point or mesh node to find where the signal stops meeting your target, then repeat the same walk after a change to see whether it moved.
Updated
The short answer: walk away from each access point or mesh node until the signal drops below your minimum. The map shows where that edge is, and whether the phone moved on in time.
The situation
Someone adds a mesh node and the back bedroom is still poor. An installer needs to show a client the new office works. Either way: where does the signal stop being good enough, and does the phone move on before then?

Three steps
1. Set your target and minimum
nOversight checks every reading against a target for most places and a minimum below which the connection counts as weak. The free app uses the defaults; Basic and Pro let you set your own before you walk.
2. Walk to the edge
Start next to an access point or node and walk slowly away through the rooms people use until the signal drops below your minimum, then walk back. Repeat from each of the others.
3. Read the map
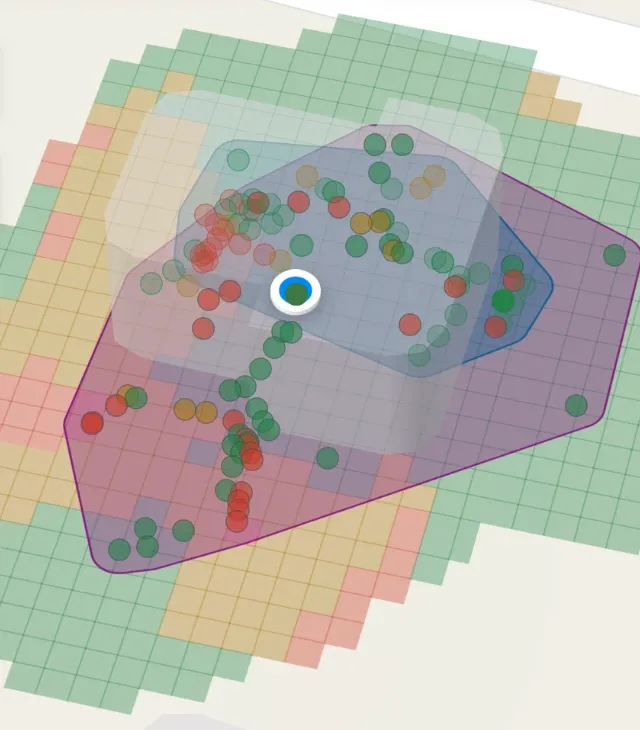
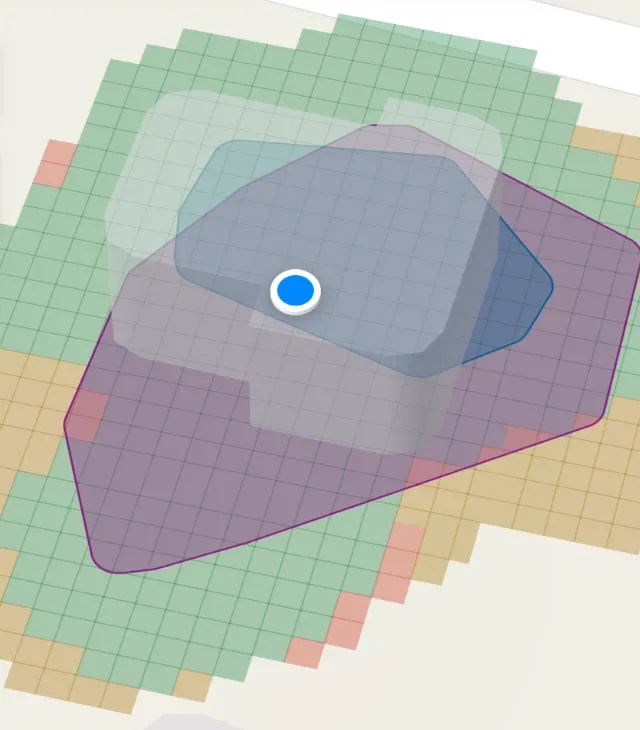
Every test point is coloured against your levels; where the colours change is the edge. If the phone changed access point while still above your minimum, the areas overlap. If it held on below the minimum, or the next access point was weak on arrival, they may not overlap enough, and nOversight marks a finding.
The evidence
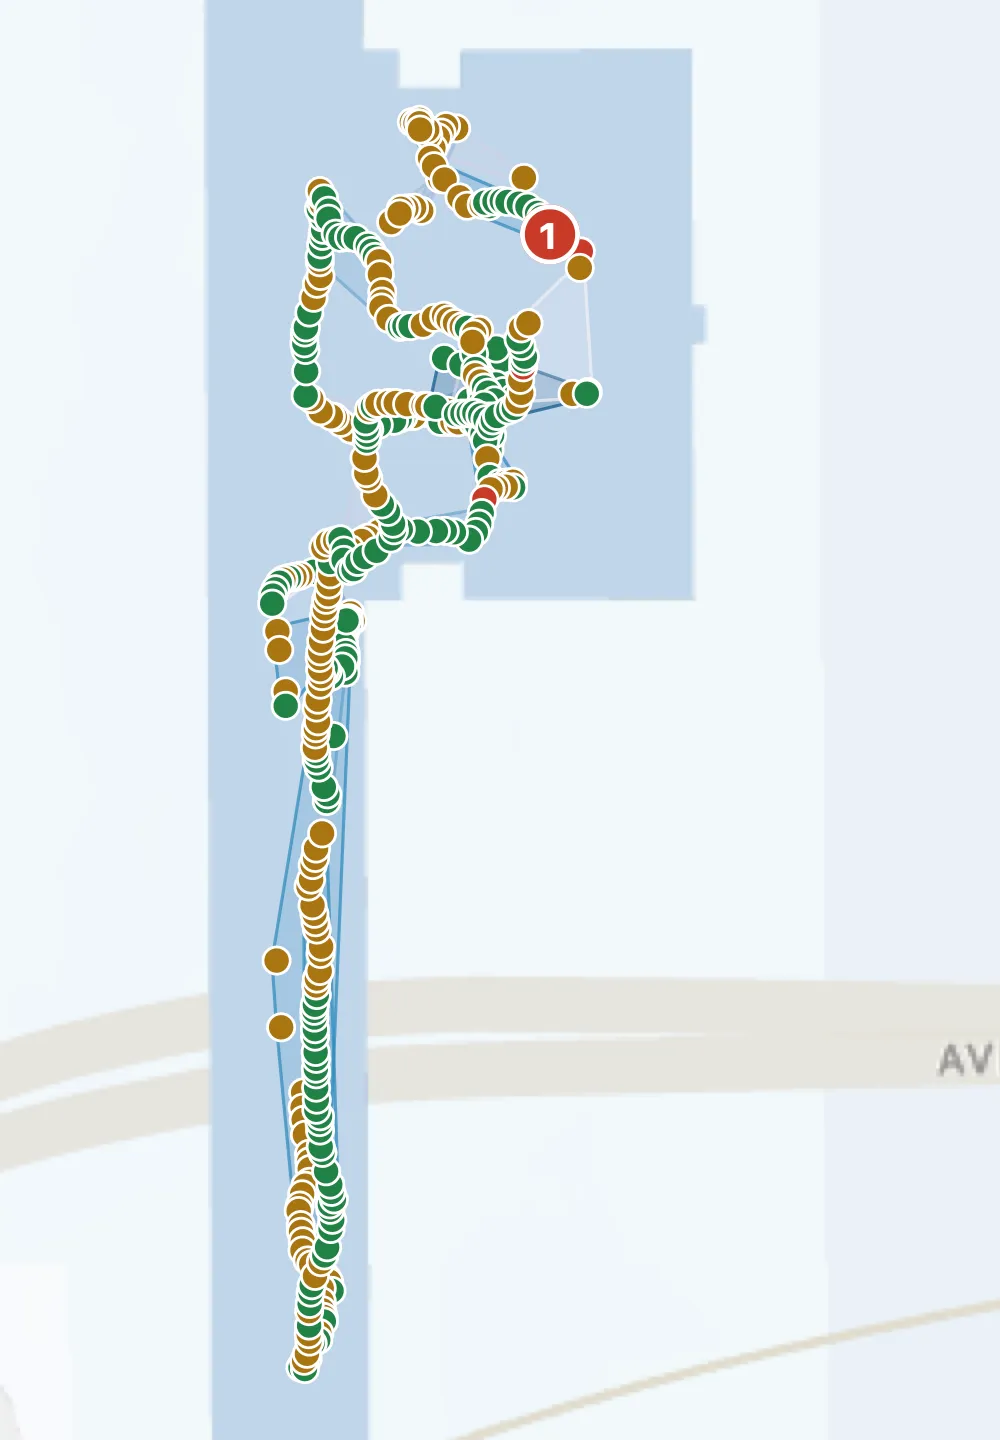
At home: the garden is weak, but not dead
At the back of the garden the signal drops to −82 dBm, well below the minimum. The phone was on a wide 6 GHz channel, and the link rates it recorded there held up better than that signal suggests, but a link rate isn’t a speed test. So stand at that spot and make a call or run an internet test to see how it really performs. That red patch is the edge of coverage. If you’re thinking of adding a mesh node to cover it, check the connection between nodes in the mesh system’s own app before you settle on a spot: the phone can’t measure that link.
What it means
nOversight shows where coverage ends. It doesn’t choose where a node should go.
The phone measures its own connection, not the link between mesh nodes. With wireless backhaul, a weak link between nodes can limit performance even when the phone’s signal is strong, so check it in the mesh system’s own app. Many mesh systems also choose the node for the phone; a walk shows whether it actually uses the new one.
What to do next
Compare before and after under the same conditions: same phone and software version, same route, pace and start, doors as they were, similar time of day, same target and minimum. An empty office on Sunday and a busy Tuesday are different tests; if you can’t match them, say so.
For an installation sign-off, record on iPhone or iPad with Pro and import a sysdiagnose from the same phone for retries, channel busyness and Apple’s roam record, or record a connected phone with Mac Pro. Then build a PDF report on the Mac listing each requirement, met or needing attention, with its evidence. It covers the device, places and time you tested, not every client or future condition. The station worked example shows how to read one.
Live walks and your own targets on the phone need Basic; saved walks and diagnostic import need Pro. Maps on the Mac come from locations the phone recorded, and PDF reports need Mac Pro. The licences are separate: see pricing.